Templates and daily work
Use templates, extensions, media, storage, search and schedules.
Based on the 3 November 2026 integrated edition · iPolloWork 0.50.33 · Download the complete Chinese PDF or Word manual
Screenshots show the source application in Simplified Chinese. New task, schedule and editor examples use sample data; verify actual saves, connections and outputs in your project.
Use, import and save templates
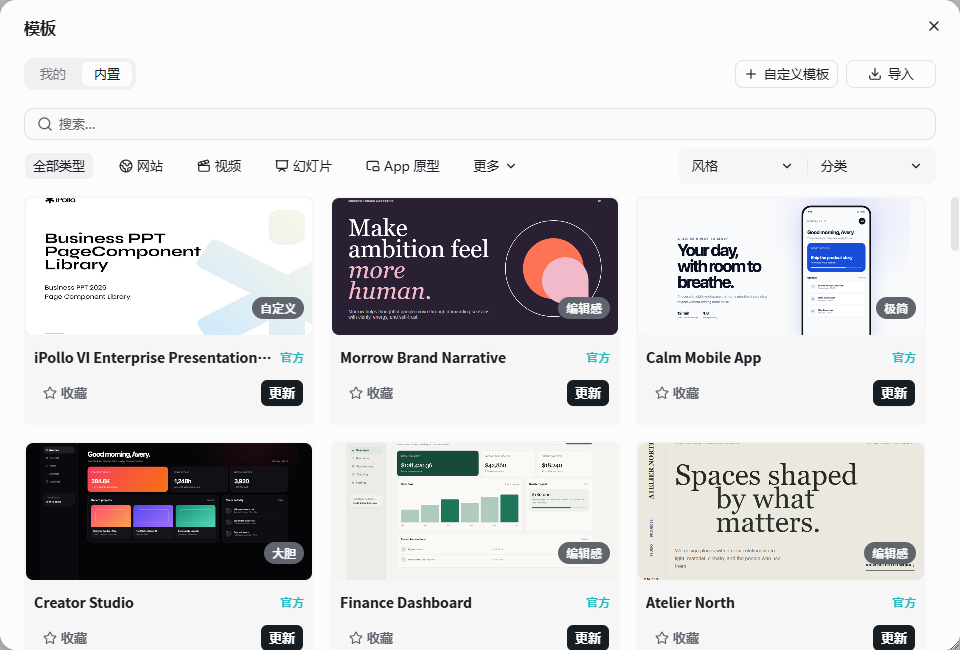
Open Templates. Packages use .ipwp, with legacy .ipwt support.
-
Preview a category, install the template and then use it. Import local packages from the import action.
-
Edit the independent result and preserve reusable variables and assets before saving it as a personal template.
-
For enterprise sharing, select the submission destination, add a version and wait for review. Update or uninstall from the template card.
Completion check: The template is listed under the right source and a new result does not overwrite the original.
Plugins, Skills and MCP
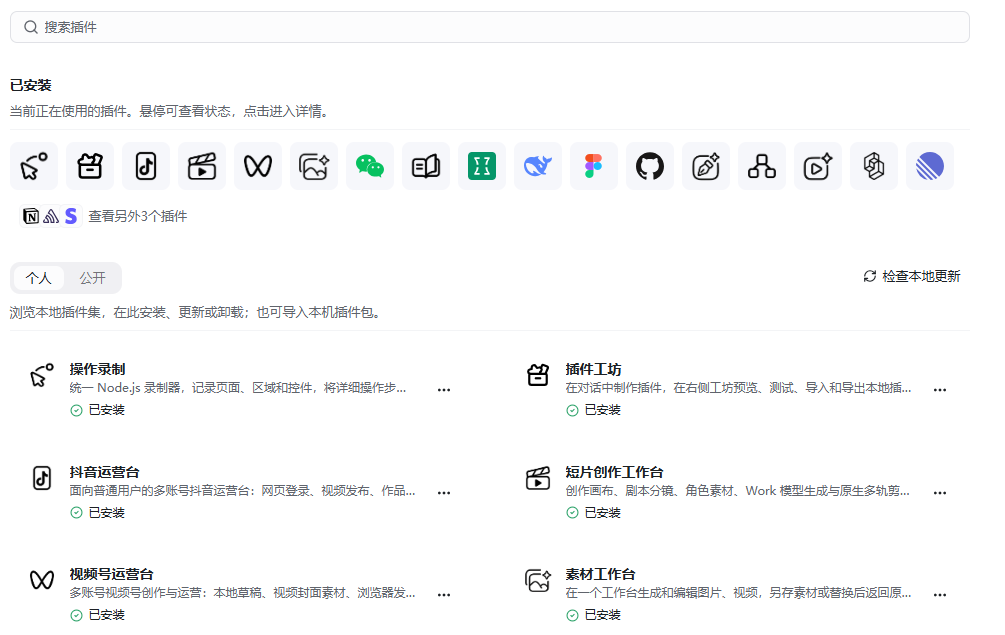
Check the installed capability before adding another one.
-
Install and enable the required extension, complete its configuration and authorize external accounts when prompted.
-
Add MCP through the current engine configuration: name, URL, OAuth and project or global scope.
-
Use / to find a command or Skill and @ to reference a capability. Run one small task that exercises the tool.
Completion check: The capability is discoverable and an actual call succeeds. Use plugin tutorials for individual services.
Create, import, export and update standalone Skills
- Open Skills and inspect its personal, public or enterprise source before installing.
- Create a Skill with its purpose, steps, inputs and completion checks, or import a supported file. A standalone .md import is limited to 1 MB; .ipollowork-skill packages can carry related resources.
- Review required resources and permissions, then test the Skill on a small real task.
- Export the appropriate format for sharing. Review source and version before updating, and revoke unnecessary access or uninstall when no longer needed.
Completion check: A new task discovers the intended version and can follow its resources. Imported instructions do not grant permissions to external services.
Browser and media work
Use the right-side Web panel and Settings → Authorization center.
-
On desktop, open a Web tab and URL. For automation, specify the target, account scope and allowed actions.
-
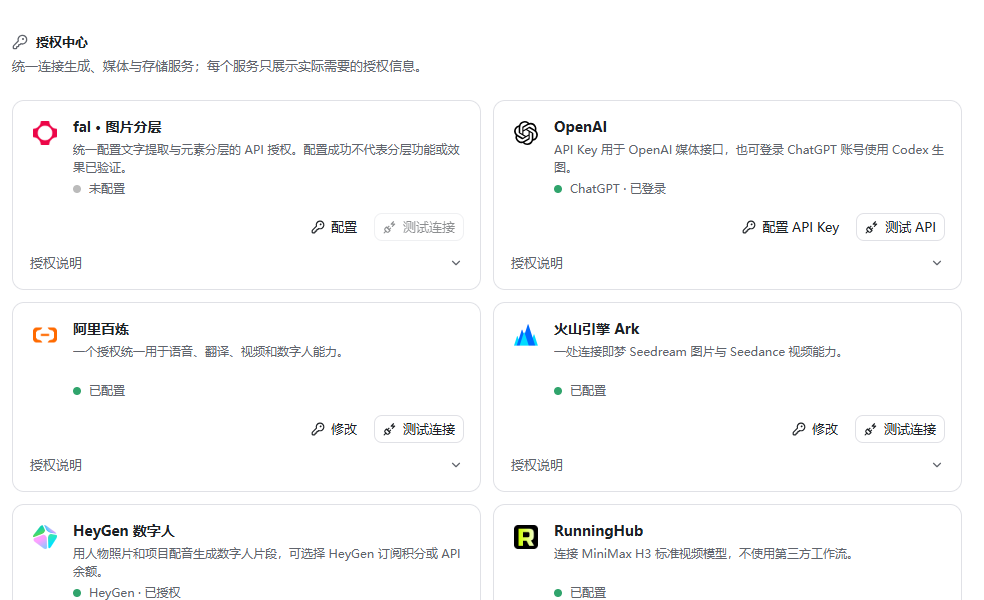
Configure a supported media service before asking for transcription, translation, speech or video generation.
-
Inspect asynchronous job status and outputs, then save the generated files. Preserve temporary media URLs as required by the task.
Completion check: A visible browser effect or real media output exists. The built-in browser is desktop-only; continuous simultaneous interpreting is outside this complete workflow.
Computer use and browser connections
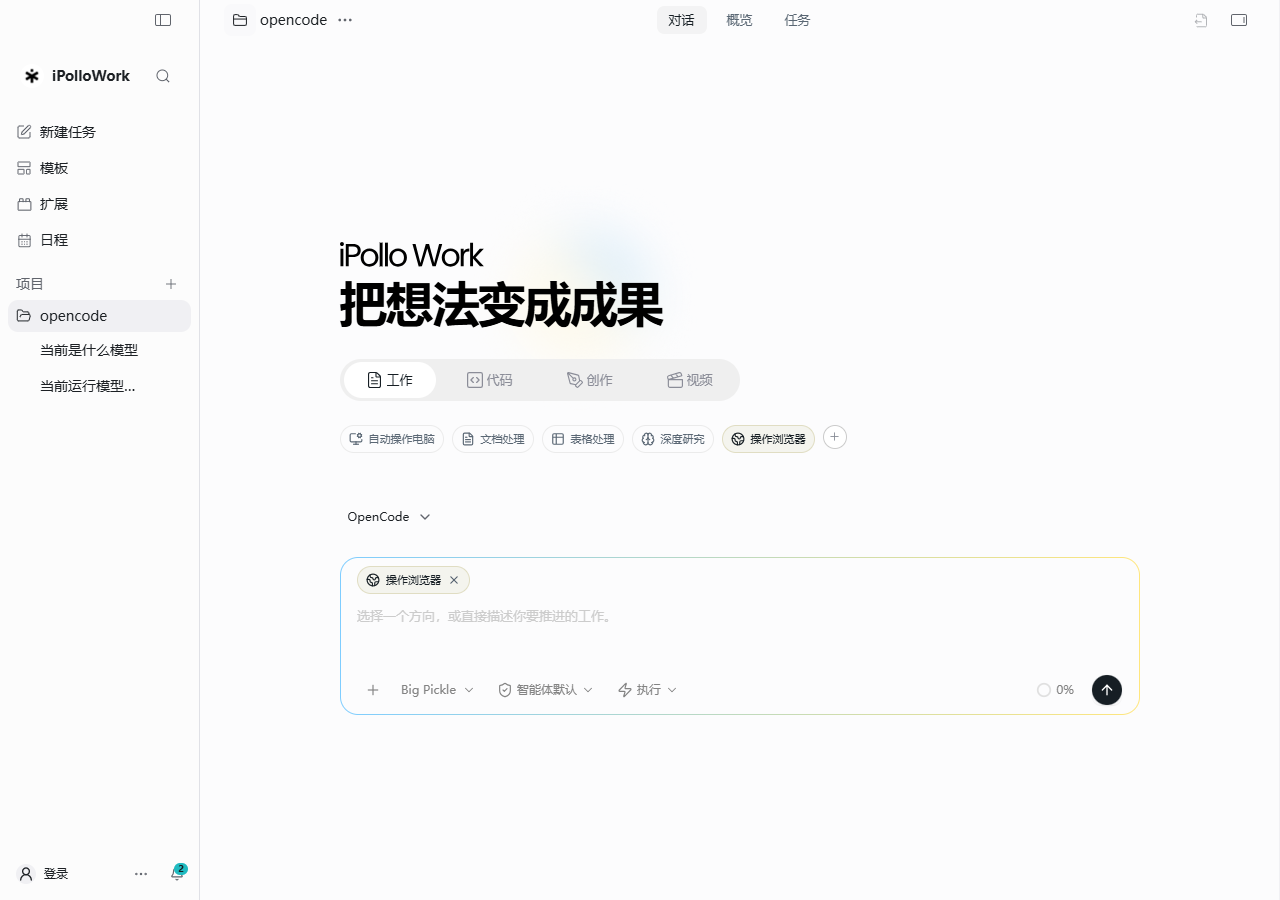
- Choose browser automation for webpage tasks and the configured computer-use tools for supported desktop actions.
- Check the required MCP connection, installed capability and operating-system permissions. Browser account sign-in is a separate requirement.
- State the target window or website, intended account and allowed actions. Inspect a small real action before expanding the task.
Completion check: The operation affects the correct surface and account. A connected browser does not automatically establish desktop control or system permission.
Save outputs to object storage
Configure OSS or Wasabi and the intended bucket in Authorization center.
-
Set the provider and default routing, then identify the workspace files to upload.
-
Explicitly request uploading the selected files and returning an access method. Ordinary outputs can remain local.
-
Check the object and link permissions and open the local deliverable from the file or output panel.
Completion check: Both the local file and uploaded object can be verified. Keep storage keys out of templates and deliveries.
Search, export and schedule entry points
Use Ctrl/Cmd + F within a conversation and Ctrl/Cmd + Shift + F across conversations; export Markdown from the task menu. See conversation history for details.
Open Schedule to plan dated work. Ordinary calendar entries record a plan; enable and verify automatic execution separately. See the following sections for schedule creation and natural-language previews.
Command palette, shortcuts and help
- Open the command palette with Ctrl/Cmd + K and choose the intended action.
- Use Ctrl/Cmd + N for a new task when focus is outside an editable field, Ctrl/Cmd + J for the local terminal, Ctrl/Cmd + F for conversation search and Ctrl/Cmd + Shift + F for global search. Check platform-specific labels.
- Open Help, search or choose a category, then follow the anchored answer for the current feature.
Completion check: The command operates in the intended scope and the help result matches your installed version.
Schedules and planning
Entry: Schedule in the sidebar, or the schedule view inside project tasks.
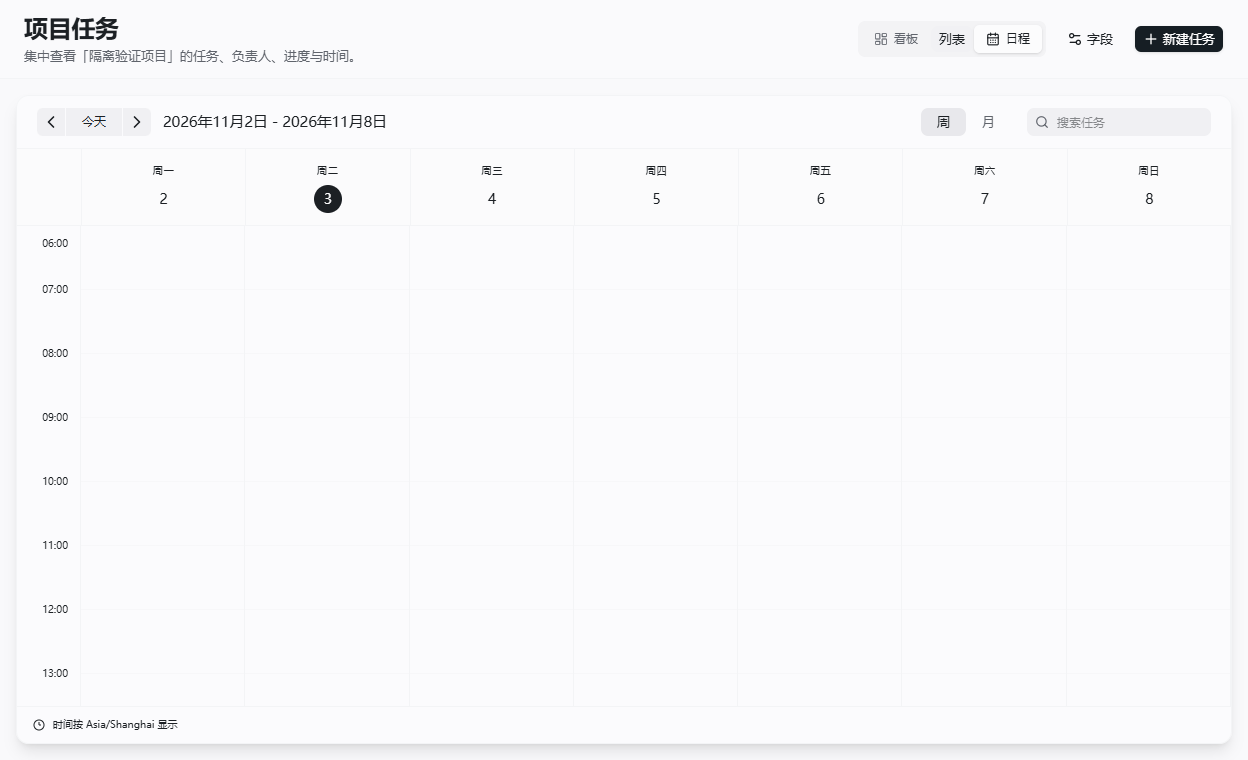
- Choose the date and available day, week or month view. Check whether the scope is global or project-specific.
- Create an entry from the available action or time slot and select the target project.
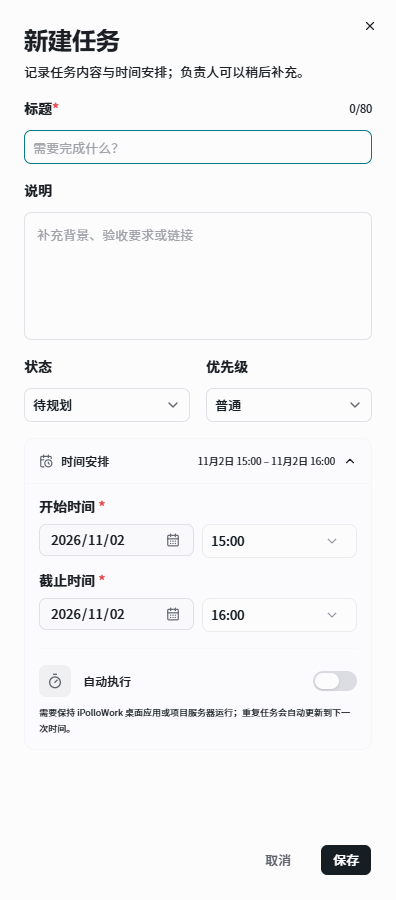
- Set the title, description, start, due time, status, priority and owner as needed. The due time must not precede the start.
- Save and reopen the entry. When cancelling, check whether automatic execution also needs to be disabled.
Completion check: The date, project and task detail agree. A calendar item, due time or status change alone does not run an AI task.
Scheduled and recurring automatic execution
Entry: Timing and automatic-execution controls in a schedule or task detail.
- First run a similar task manually, with the intended project, engine, tools, files and completion conditions.
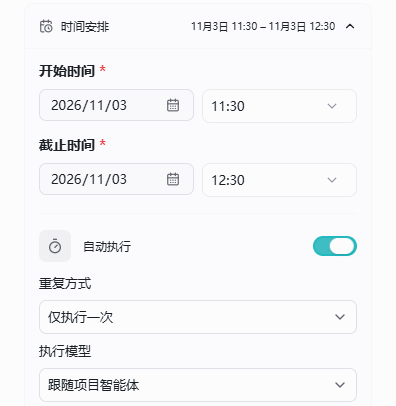
- Set a valid start time and enable automatic execution. Choose once, daily or weekly, and follow the project agent’s model or select a connected model.
- Save and inspect the plan. Keep the desktop application or project server running, with network access, credentials, quota and file paths available.
- At the planned time, inspect last-start information, the linked conversation and actual outputs. Resolve failures before testing again.
- To pause or cancel, disable automatic execution and separately stop any conversation that has already started when necessary.
Completion check: The linked conversation contains a real run and output, and the next recurrence is correct. The running service handles timing; second-level precision, execution while shut down and every missed run during sleep are not guaranteed. A due time does not force a run to stop.
Create schedules through conversation
- In a task with schedule-tool permission, specify the target project, activity, date, time, time zone and duration. Include daily or weekly recurrence when needed.
- State whether this is a plan only or should automatically execute, including required input and output files.
- Review the returned preview for time zone, start, end, recurrence and automatic-execution state.
- Confirm the preview before writing the entry, then reopen it in Schedule.
Completion check: The confirmed entry matches the preview and intended project. An ordinary calendar plan and an automatically executed task are clearly distinguished.
Remote workspaces and connection checks
- Prepare the remote workspace service address, required credentials and accessible project directory.
- Connect through the available workspace entry, check the target and test a small task with actual file access.
- After reconnecting, inspect the session and output state before retrying actions that may already have completed.
Completion check: The intended remote project executes the task and persists its outputs. A remote execution service and a model inference service have different responsibilities. Desktop-only Design, browser and terminal paths require separate availability checks.
Next: continue reading, or browse the complete feature index.